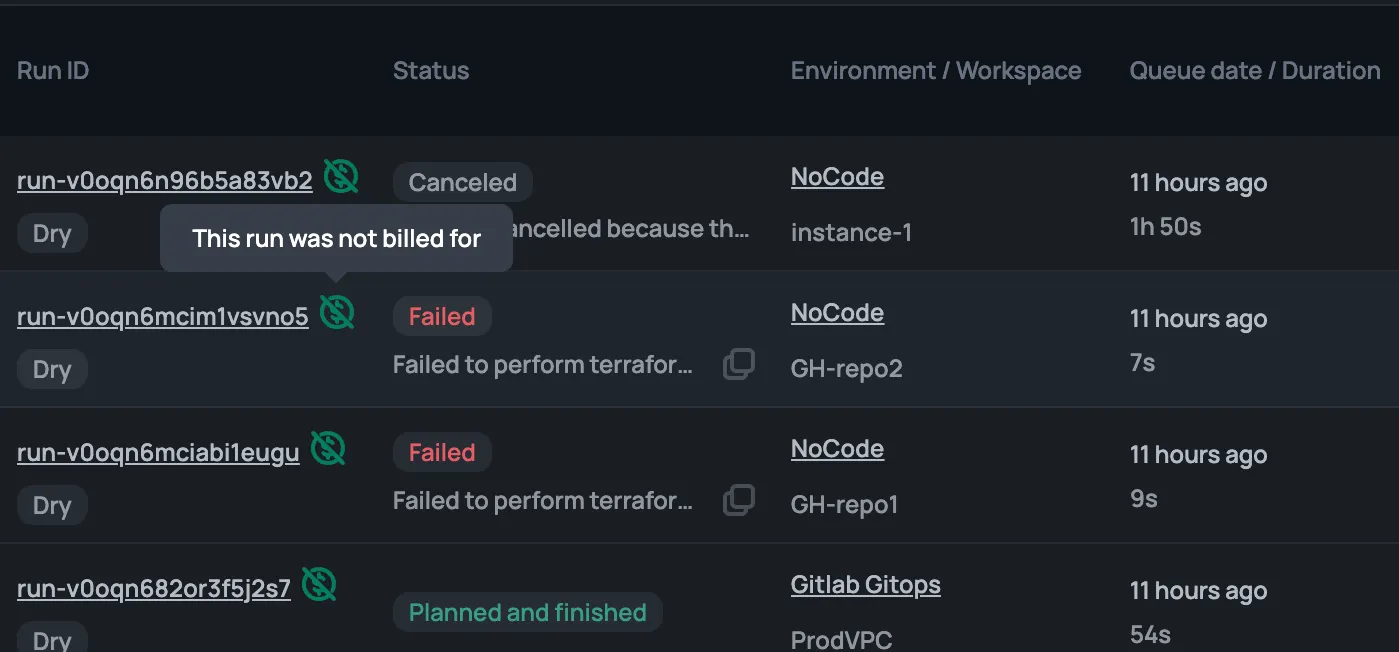
Unlimited & Free Concurrency.

In the dynamic landscape of identity management, Okta stands out as a leading solution, providing robust authentication and authorization services. For those venturing into the realm of infrastructure as code (IaC) with Terraform, the Okta Terraform provider is a powerful tool that streamlines the integration of Okta into your Terraform provisioning workflows. In the first part of this blog, we will walk you through the basic steps on how to use the Terraform Okta provider effectively, enabling you to seamlessly incorporate Okta's identity management capabilities into your Terraform configuration files.
In the second part of the blog, we will walk you through the benefits of integrating Okta with Scalr, which is even included on the free tier of Scalr
What is the Okta Terraform Provider?
Terraform uses the concept of providers to interact with endpoint APIs to create resources in the provider. The Okta Terraform provider serves as a bridge between your infrastructure code and Okta's Identity Cloud. It allows you to define and manage Okta resources – such as users, groups, and applications – directly within your Terraform modules and code. This integration ensures that your identity management configurations are codified, version-controlled, and can be easily reproduced across different environments.
Before diving into the common use cases of using the Okta provider, ensure that you have the following prerequisites in place:
Now, let's create an Okta user using Okta Terraform resource. This can all be viewed in detail in the Terraform registry here. Add the following code to your configuration:
This Terraform code defines a resource "example_user" with the specified Okta profile details.
Extend your Terraform code to manage Okta groups. Add the following Okta objects into the Terraform resource code:
This Terraform code defines an Okta group named "example_group" with the specified name and description.
To manage Okta applications using Terraform, add the following Okta objects into the code:
This example creates a SAML application in Okta named "example_app" with the specified settings.
Once you've defined your Okta resources through the Okta Terraform provider, navigate to the directory containing your Terraform configuration file and run the following commands:
Terraform will initialize the Okta provider and apply the changes to your Okta environment. Upon a successful Terraform run, the state file will be created.
Utilize Terraform variables to make your configurations more dynamic. Instead of hardcoding values, use variables to create reusable and flexible scripts.
Consider using remote state management to store your Terraform state files securely. Services like Scalr or AWS S3 can be configured as remote backends to store state files. Here is an example of connecting to Scalr:
To improve your Terraform code, we encourage you to review the option of using Okta data sources in the code to be able to pull information from other resources or workspaces into the run.
This guide covered the basic steps to configure the Terraform Okta provider, create Okta users, groups, and applications, and introduced best practices for advanced usage. As you explore further, consider exploring additional Okta resources supported by the Okta provider, such as factors, rules, and policies. The Terraform documentation for the Terraform Okta provider is a valuable resource for in-depth information and examples.
By integrating Okta into your Terraform workflows, you're not just managing infrastructure – you're managing identity with the efficiency and scalability that infrastructure as code brings.
Scalr, a Terraform Automation and Collaboration platform, provides a best in class integration with Okta. Scalr is featured in the Okta catalog, making it easier than ever to integrate Okta SAML. This integration not only enhances identity management but also amplifies the efficiency and scalability of your Terraform workflows. Below, we'll explore the seamless integration process and benefits of integrating Scalr with Okta.
First off, Scalr is the only Terraform automation and collaboration platform that offers the SCIM protocol for all SAML providers.
Automated User Provisioning: SCIM enables the automatic provisioning of user accounts in Scalr when created in Okta. This automation streamlines user onboarding processes, reducing the need for manual intervention.
Efficient User Deprovisioning: When a user is de-provisioned in Okta, SCIM ensures that the corresponding user account is promptly deactivated in Scalr. This automated process enhances security by revoking access for users who no longer require it.
Real-Time Updates: SCIM facilitates real-time updates, ensuring that changes in user attributes or group memberships in Okta are promptly reflected in Scalr. This synchronization guarantees that access controls are consistently enforced.
You can visit the detailed documentation on this here, but the following steps are a high level overview to get started:
Try it out in Scalr today, everything listed here is included in Scalr’s free tier. You can also read more here.


